It’s challenging for designers and clients to understand each other about the interior. Glossy magazine pictures don’t always show how things look, and complicated drawings are hard for many people to get. But 3D furniture visualization helps a lot. It lets designers make a 3D render the client can view from all sides.
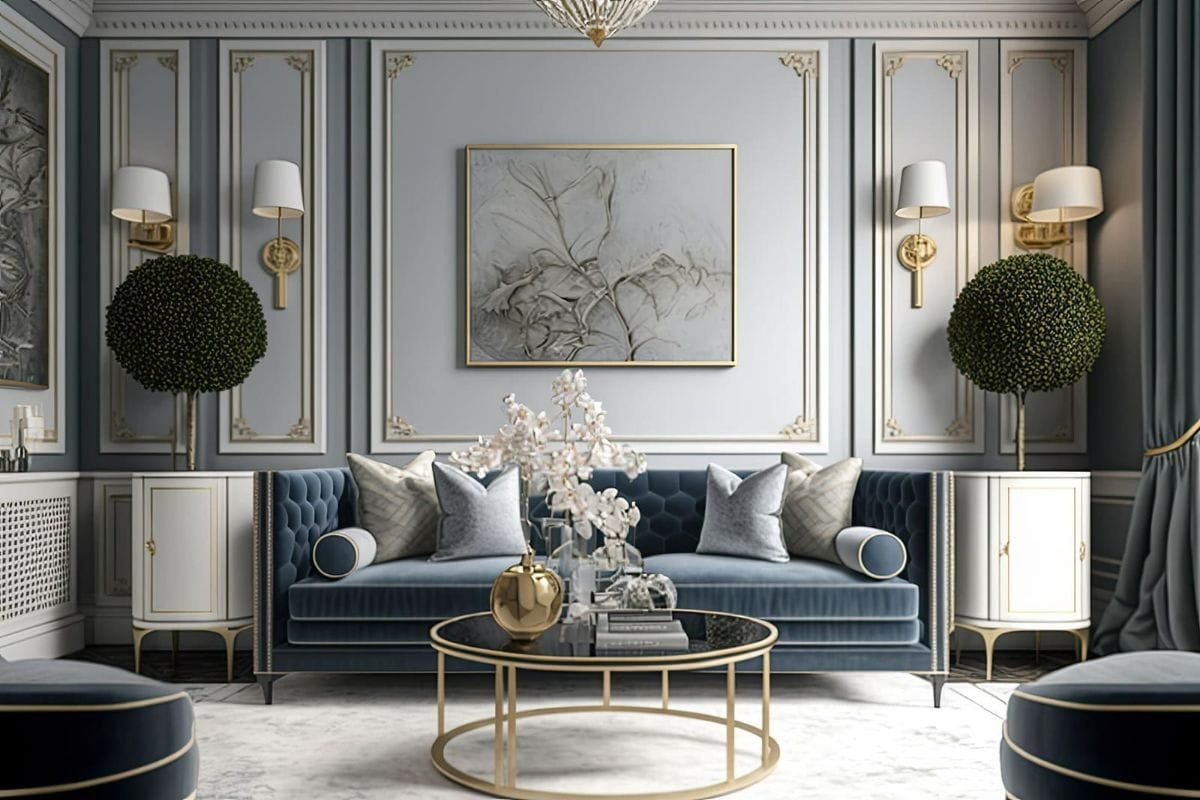
Designers like using 3D furniture visualization because:
- They can quickly make complete catalogs.
- It saves money.
- It looks authentic.
- They can change things with just a few clicks.
Let’s take a closer look at how this works.
Steps in the 3D Furniture Visualization Journey
The days of cookie-cutter apartments and generic furniture are long gone. Now, every client craves a personalized touch to their project. Here’s how to make that happen:
1. Craft 3D Furniture Model
This involves creating a three-dimensional model to develop a visual representation with depth. The model can mirror a real object or take on a new form.
2. Set the Stage
After setting up the camera in the scene, we tweak where it sits and how it looks around to get the best view. Then, we use the camera’s unique settings to change how sharp the image is, how far it can be seen clearly, and how light or dark the picture should be so we get the right look to show off the inside of a place.
3. Set the Scene with Light
Kick-off by choosing your light sources. Consider bringing in the sun or sky for the overall vibe, or you might need additional spotlights. Next up, play around with how bright, what color, and where your light’s hitting to nail the look you’re aiming for.
4. Bring Details to Life with Texture
Texture Time! 3D model texturing is about giving your creation those intricate details or that ultra-real look.
5. Finishing Touches with Extra Flair
Time to fine-tune the colors, contrast, and brightness to make your scene pop. Throw in special effects, like a touch of blur or strategic lighting, to up the realism and spotlight the critical bits.
6. 3D Rendering
Rendering, an essential stage in visualization, transforms three-dimensional models into flat images. The time taken for rendering varies, depending on the object’s complexity and the desired image quality, ranging from minutes to hours.
7. Color Adjustment
Too bright 3D models can seem unnatural. Aim for subtlety in color saturation and brightness if you’re after photorealism. Don’t fret about dullness — well-placed bright accents can make a design shine.
In Summary
The boundless potential and obvious benefits of visualization services are driving their popularity in 3D furniture design. This method’s effectiveness is clear, offering a quick return on investment. At Genense Studio, we’re ready to support any project! Try it and see the difference! Good article for you too
https://www.genense.com/blog/choosing-the-best-graphics-card-for-your-3d-rendering-needs/




![8 Tools and Apps Every Graphic Designer Should Have [2020] graphic design](https://www.shoutmecrunch.com/wp-content/uploads/2020/03/graphic-design.jpg)
